Yogur natural casero sin yogurtera. Fermentación en termo
Hello everybody, hope you're having an incredible day today. Today, I'm gonna show you how to prepare a special dish, Yogur natural casero sin yogurtera. Fermentación en termo. It is one of my favorites. For mine, I'm gonna make it a little bit tasty. This will be really delicious.
Yogur natural casero sin yogurtera. Fermentación en termo is one of the most well liked of current trending meals on earth. It is appreciated by millions daily. It is easy, it is fast, it tastes yummy. They're nice and they look fantastic. Yogur natural casero sin yogurtera. Fermentación en termo is something which I have loved my entire life.
Many things affect the quality of taste from Yogur natural casero sin yogurtera. Fermentación en termo, starting from the type of ingredients, then the selection of fresh ingredients, the ability to cut dishes to how to make and serve them. Don't worry if you want to prepare Yogur natural casero sin yogurtera. Fermentación en termo delicious at home, because if you already know the trick then this dish can be used as an extraordinary special treat.
As for the number of servings that can be served to make Yogur natural casero sin yogurtera. Fermentación en termo is 1 l. So make sure this portion is enough to serve for yourself and your beloved family.
Just in addition, the time it takes to cook Yogur natural casero sin yogurtera. Fermentación en termo estimated approx 12 horas aprox.
To get started with this recipe, we must first prepare a few ingredients. You can cook Yogur natural casero sin yogurtera. Fermentación en termo using 2 ingredients and 5 steps. Here is how you cook it.
Una de las razones para decidirnos a hacer yogur en casa es intentar reducir lo máximo posible la generación de residuos, lo que obviamente incluye el plástico, y los envases individuales de plástico ocasionan gran cantidad de desperdicio. No tenemos yogurtera pero investigando por la red leí que lo importante era mantener una temperatura constante y un termo podía ser una buena opción, como compré uno para llevar la comida al curro (antes de que nos pudieran microondas) pues me puse a ello. Obviamente no se fermenta en vasos individuales, se fermenta todo y luego puedes pasarlo a un bote grande o a vasos individuales, yo lo he pasado a un bote de cristal con cierre hermético.
Ingredients and spices that need to be Prepare to make Yogur natural casero sin yogurtera. Fermentación en termo:
- 1 litro leche fresca
- 100 gr yogur de calidad
Instructions to make to make Yogur natural casero sin yogurtera. Fermentación en termo
- Es importante que la leche sea fresca y el yogur de la mejor calidad, bueno más bien yogur de verdad, por los ingredientes sabremos lo que es yogur de verdad, leche y fermentos (yo he utilizado el de pastoret de vaca)
- Calentamos la leche hasta que alcance una temperatura de unos 45°, lo ideal es tener un termómetro de cocina, pero sino podremos saber que ha alcanzado esa temperatura introduciendo el dedo (obviamente nos tenemos que lavar muy bien las manos) y si aguantamos el calor está listo, es un poco rudimentario y quizás no excesivamente fiable, pero a mí me a ido bastante bien. Si nos hemos pasado de calor basta con dejar templar un poco. Es importante que la temperatura no llegue a los 50°

- En un bol mezclamos muy bien un poco de leche con el yogur y vamos añadiendo el resto de la leche poco a poco mientras seguimos mezclando hasta terminar de mezclar todo y que el yogur quede perfectamente diluido en la leche. Vertemos la leche en el termo.


- Mi termo venía con una bolsita para ayudar a mantener el calor y trasportar, metí el termo en esa bolsita y está a su vez en otra similar, puede ser cualquier otra térmica de las de súper (eso sí son de plástico así que procura guardarla para reutilizarla lo máximo posible, se trata de generar menos residuos al fin y al cabo) o la típica que llevamos a la playa con los tuppers y el agua.

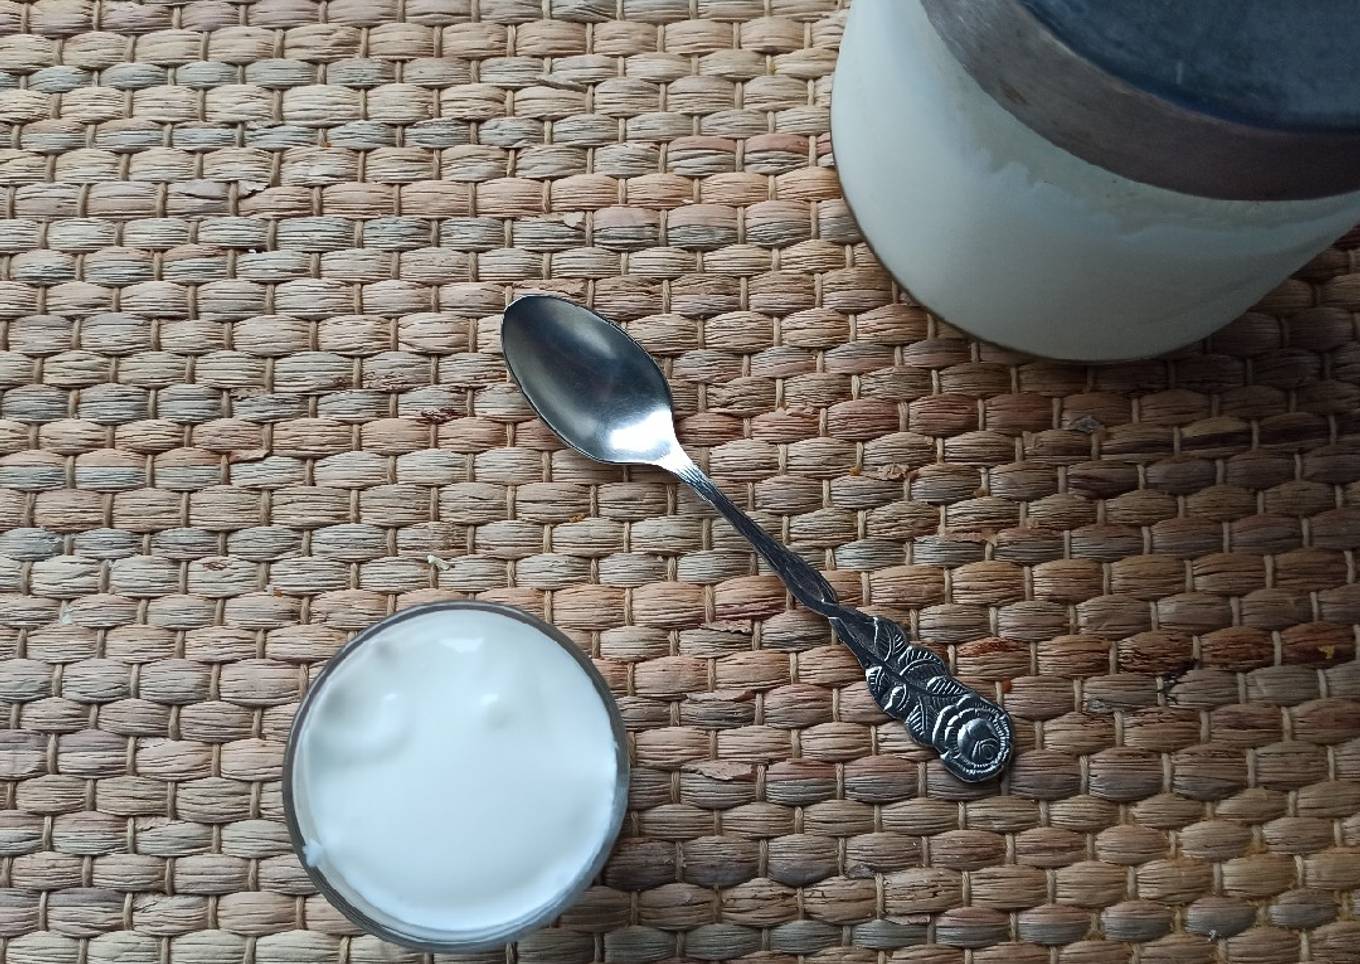
- Deja fermentar de 8 a 12 horas en e lugar más templado y con la temperatura más estable. Yo lo dejé fermentar 11 horas. Una vez Fermentado lo pasé a un bote de cristal y a la nevera. Y a vasitos individuales para comerlo, vamos como si se tratara del yogur de kl que puedes encontrar en el super.


As your experience and confidence expands, you will certainly locate that you have much more natural control over your diet plan and also adapt your diet regimen to your personal tastes in time. Whether you intend to offer a recipe that utilizes less or even more active ingredients or is a little essentially hot, you can make basic adjustments to attain this objective. To put it simply, start making your recipes promptly. As for standard food preparation skills for newbies you do not need to learn them however only if you master some easy cooking methods.
This isn't a full guide to fast and also simple lunch dishes but its excellent food for thought. Hopefully this will certainly get your creative juices moving so you can prepare scrumptious dishes for your household without doing a lot of heavy meals on your journey.
So that is going to wrap this up for this exceptional food Step-by-Step Guide to Prepare Favorite Yogur natural casero sin yogurtera. Fermentación en termo. Thanks so much for your time. I'm sure you will make this at home. There's gonna be interesting food at home recipes coming up. Remember to save this page in your browser, and share it to your family, friends and colleague. Thank you for reading. Go on get cooking!


Comments
Post a Comment